概述
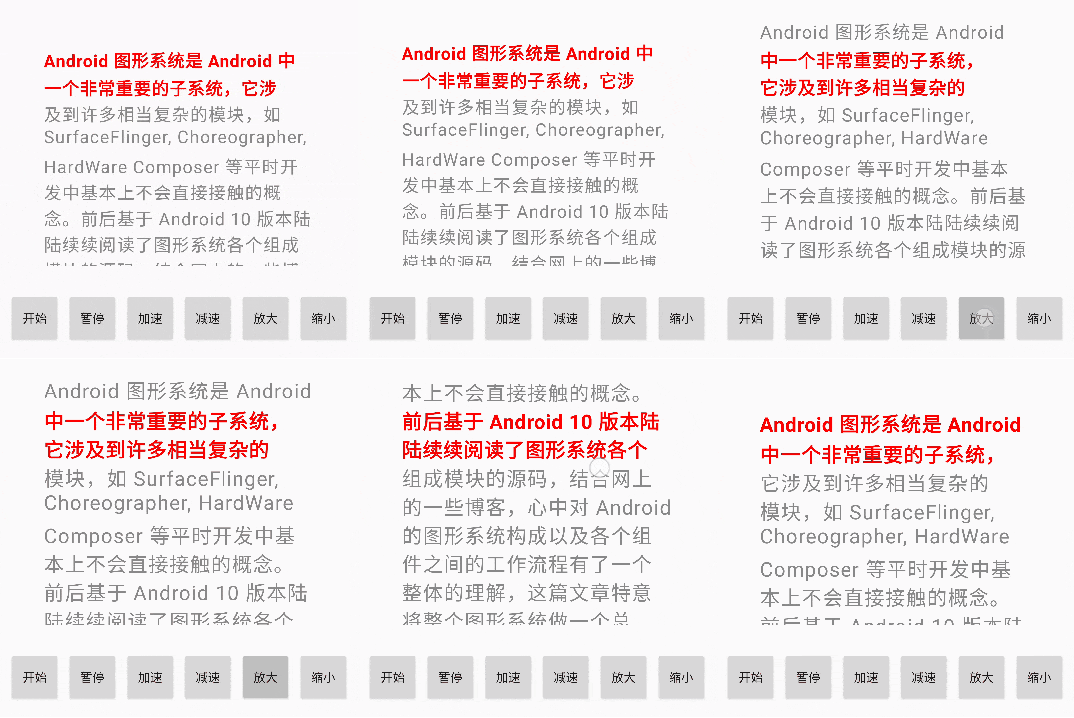
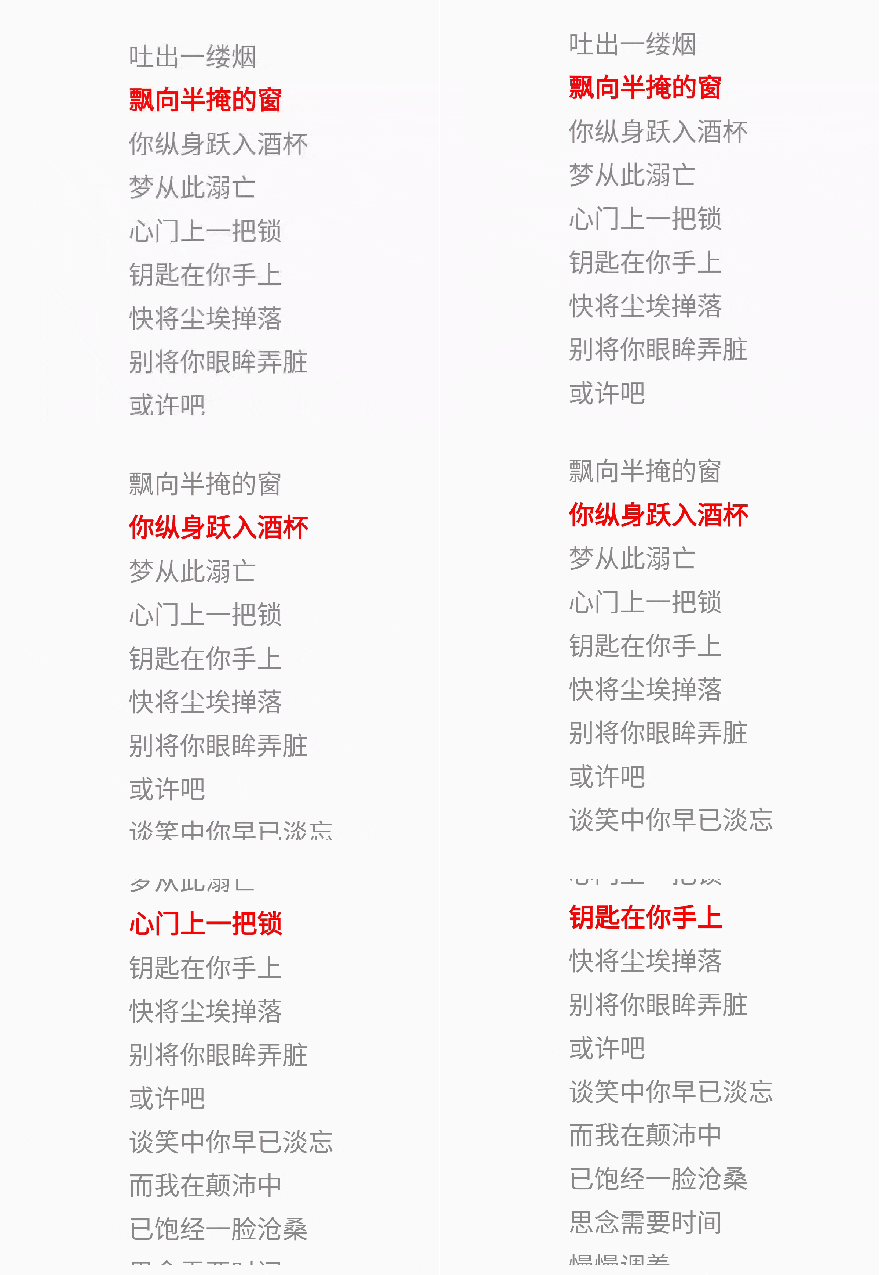
上篇文章写了几种支持 高亮展示固定行并滑动文本的自定义View, 效果如下:
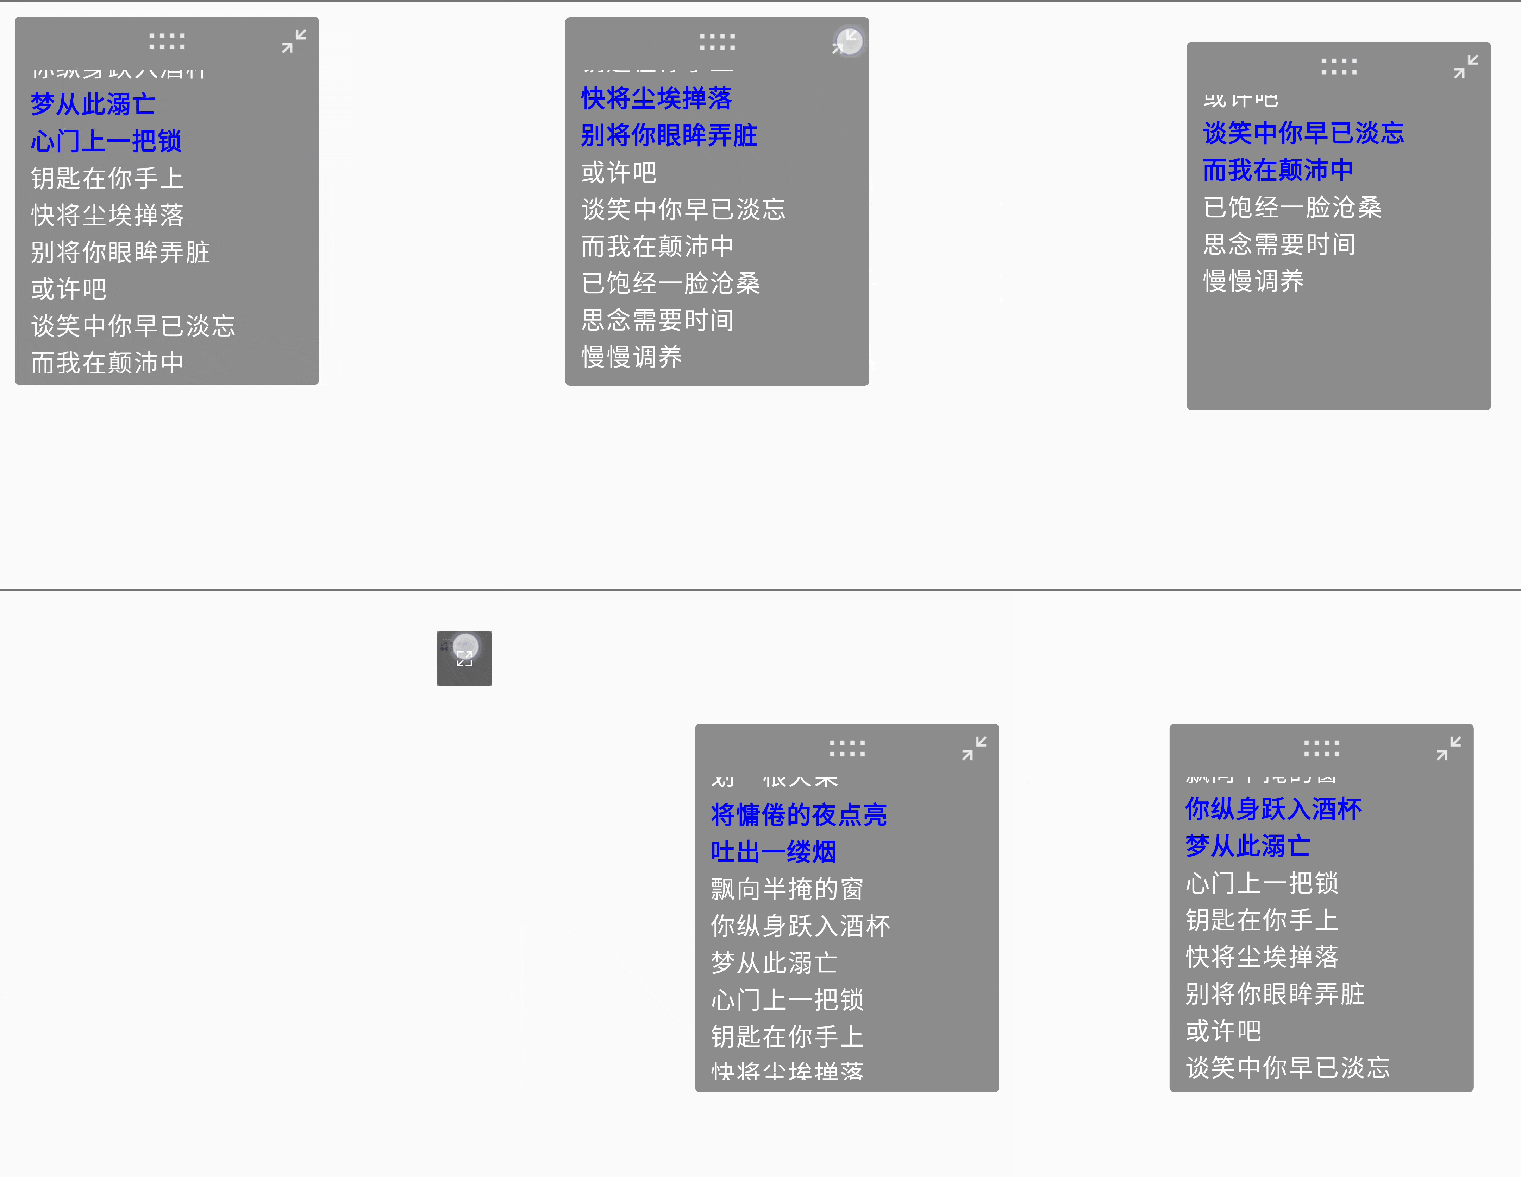
这篇文章再来写一个比较有意思的自定义 View, 我想大家在工作中应该基本上都写过类似的~一个支持手指平移,缩放,旋转的控件:
在介绍实现方案之前,先复习一下相关的知识。
MotionEvent
在 MotionEvent 中有许多事件类型,跟这篇文章相关的事件就是手指在屏幕上滑动,与之相关的事件如下:
- ACTION_DOWN
- ACTION_MOVE
- ACTION_UP
这个手指滑动的动作会产生一系列事件,称之为事件流: ACTION_DOWN -> ACTION_MOVE -> ACTION_MOVE -> ... -> ACTION_MOVE -> ACTION_UP。
平移控件的话便是接收到这些事件后,通过计算拿到偏移量,然后进行 translation 即可。
再看看 MotionEvent 相关的两种坐标方法:
getX/Y(): 获取触摸点距离自身 View 左/上边界的距离。因此如果控件跟随手指移动后,其 getX/Y() 方法获取的坐标值依旧是距离自身边界的距离,不会变。getRawX/Y(): 获取触摸点距离屏幕左/上边界的距离。如果控件跟随手指移动,那该方法获取的值会随之变化。
平移
关于 Android 的坐标体系就不赘述了,估计大家都看过网上的那些坐标系图。这里看看 View 的几个方法:
1
2
3
4
5
6
7
8
9
10
11
12
13
14
15
| public final int getWidth() {
return mRight - mLeft;
}
public final int getHeight() {
return mBottom - mTop;
}
public float getX() {
return mLeft + getTranslationX();
}
public float getY() {
return mTop + getTranslationY();
}
|
View 的位置及大小由 left, top, right, bottom 四个参数决定,且这四个参数都是相对于其父 View 的。另外 View.getX/Y() 方法表示 View 以其父 View 左上角为坐标原点的 x, y 值,而 setTranslationX/Y() 用于平移 View, 默认为 0, 因此 x/y 默认等于 left/top。
接下来介绍一下几种平移 View 的方式:
layout(), offsetLeftAndRight(), offsetTopAndBottom()
1
2
3
4
5
| layout(left + dx, top + dy, right + dx, bottom + dy)
offsetLeftAndRight(dx)
offsetTopAndBottom(dy)
|
这种方式会直接改变 View 的 left, top, right, bottom 等布局参数。
setX(), setY(), setTranslationX(), setTranslationY()
1
2
3
4
5
6
7
| public void setX(float x) {
setTranslationX(x - mLeft);
}
public void setY(float y) {
setTranslationY(y - mTop);
}
|
根据上面对 x/y 和 translationX/Y 的关系,可以知道这两种方式原理是一样的。它们都会改变 View 的 translation 值,但是没有修改布局参数 left, right, top, bottom 等。
属性动画对于平移的操作其实也是改变的这个属性,我们知道属性动画和补间动画的一个区别就是补间动画改变了 View 的显示位置,但是事件响应区域还是在之前的地方;而属性动画除了改变了 View 的显示位置,其事件响应区域也会对应改变。这里在于对属性动画的操作,显示效果变化的原因是 canvas matrix 做了变换,而依旧能响应事件的原因是事件分发的时候也会做对应的映射,使得事件能够响应在变化后的区域。
scrollTo(), scrollBy()
这两个方法在上篇文章已经看过了,它影响的是 View 的内容,即影响画布 canvas 的位移,因此可以这样平移:
1
| (parent as? View)?.scrollBy(-dx, -dy)
|
它也会对应改变事件响应的区域。
旋转
旋转使用 View.setRotation() 方法,跟修改 translationX 一样,它也不改变布局参数 left, right, top, bottom 等,旋转的属性动画也是改变的这个属性。注意旋转后 View.getLocationOnScreen() 等返回的 View 的位置坐标还是以 View 原先左上角返回的旋转后的坐标值。
跟旋转相关的有一个中心点 pivot 参数: setPivotX/Y(), 这个参数表示旋转的中心点,默认是 View 中心。
缩放
缩放使用 View.setScaleX/Y() 方法,它也不改变布局参数 left, right, top, bottom 等,因此即使缩放后看上去 View 变大或变小了,但其 getWidth() 和 getHeight() 方法返回的长宽还是不变的,而事件响应区域则变化了,因为事件分发做了映射。
同样也需要通过 setPivotX/Y() 设置中心点。
自定义View实现
具体效果在上图中可以看到,相关代码在文章末尾。这个控件有两种形式,一种是大面板,一种是收起后的小面板。
- 面板的展开和收起使用缩放实现
- 大面板顶部中间可以触摸平移,收起后小面板也可以移动且会自动吸附到边界
- Activity 固定竖屏,但是控件可以感应横竖屏,使用 View 的旋转实现
手指平移
手指平移需要重写 onTouchEvent 方法,计算手指移动的距离,进而移动控件。这里需要根据 down 事件的坐标来判断是不是触摸到了大面板的移动按钮或者是小面板,只有这两个 View 能响应平移事件。
1
2
3
4
5
6
7
8
9
10
11
12
13
14
15
16
| override fun onTouchEvent(event: MotionEvent?): Boolean {
if (event == null || (event.action == MotionEvent.ACTION_DOWN && !touchInTransView(event) && !touchInLittlePanel(event))) {
return inBigPanel()
}
if (isBigDrag || touchInTransView(event)) {
return onBigPanelTouchEvent(event)
}
if (isLittleDrag || touchInLittlePanel(event)) {
return onLittlePanelTouchEvent(event)
}
return inBigPanel()
}
|
接下来以大面板平移为例,看看实现代码:
1
2
3
4
5
6
7
8
9
10
11
12
13
14
15
16
17
18
19
20
21
22
23
24
25
26
27
28
29
30
31
32
33
34
35
36
37
38
| private fun onBigPanelTouchEvent(event: MotionEvent): Boolean {
val x = event.x
val y = event.y
when (event.action) {
MotionEvent.ACTION_DOWN -> {
lastX = x
lastY = y
isBigDrag = true
}
MotionEvent.ACTION_MOVE -> {
val dx = x - lastX
val dy = y - lastY
when {
isPortrait() -> {
tranX += dx
tranY += dy
}
isLandLeft() -> {
tranX -= dy
tranY += dx
}
else -> {
tranX += dy
tranY -= dx
}
}
correctBigBorder()
}
MotionEvent.ACTION_UP -> {
isBigDrag = false
}
}
return true
}
|
注意上面用的是 MotionEvent.getX/Y() 方法,这里也可以使用 MotionEvent.getRawX/Y() 方法,但是需要在每次 move 事件的时候更新 lastX/Y 值,具体原因参考上面关于这俩方法的解析。上面代码都有写注释,主要看看 correctBigBorder() 方法:
1
2
3
4
5
6
7
8
9
10
11
12
13
14
15
16
17
18
19
20
21
| private fun correctBigBorder() {
val lMax = leftMax()
if (tranX < lMax) {
tranX = lMax
}
val rMax = rightMax()
if (tranX > rMax) {
tranX = rMax
}
val tMax = topMax()
if (tranY < tMax) {
tranY = tMax
}
val bMax = bottomMax()
if (tranY > bMax) {
tranY = bMax
}
translationX = tranX
translationY = tranY
}
|
上面在 move 事件的时候,需要判断是否超出了边界,超出了则纠正,然后进行 View 的平移,上面的几个边界 max 方法是在横竖屏(旋转)状态下计算出的:
1
2
3
4
5
6
7
8
9
10
11
12
13
14
15
16
17
18
19
20
21
22
23
24
25
26
27
28
29
30
31
32
33
34
35
36
37
38
39
40
41
42
43
44
45
46
47
|
private fun leftMax() = if (isPortrait()) marginL - left else (height() - width()) / 2 + marginL - left
private fun topMax() = if (isPortrait()) marginT - top else marginT - top - (height() - width()) / 2
private fun rightMax() = maxWidth() - orientedWidth() + leftMax()
private fun bottomMax(real: Boolean = true) = maxHeight() - orientedHeight() + topMax()
private fun width() = parentWidth * 0.6f
private fun height() = parentHeight * 0.4f
private fun orientedWidth() = if (isPortrait()) width() else height()
private fun orientedHeight() = if (isPortrait()) height() else width()
private fun maxWidth() = parentWidth - marginL - marginR
private fun maxHeight() = parentHeight - marginT - marginB
|
横竖屏感应(旋转)
由于 Activity 是固定竖屏的,因此控件需要自身感应横竖屏,然后进行旋转:
1
2
3
4
5
6
7
8
9
10
11
12
13
14
15
16
17
18
19
20
21
22
23
24
25
26
27
28
29
30
31
32
33
34
35
36
37
38
39
40
41
42
| private val orientationListener: OrientationEventListener by lazy {
object : OrientationEventListener(context, SensorManager.SENSOR_DELAY_NORMAL) {
override fun onOrientationChanged(orientation: Int) {
val cur = if (orientation >= 330 || orientation < 30) {
Surface.ROTATION_0
} else if (orientation in 60..119) {
Surface.ROTATION_90
} else if (orientation in 150..209) {
Surface.ROTATION_180
} else if (orientation in 240..299) {
Surface.ROTATION_270
} else {
Surface.ROTATION_0
}
if (!isFolding && inBigPanel() && this@FancyPanel.orientation != cur) {
this@FancyPanel.orientation = cur
pivotX = width() / 2f
pivotY = height() / 2f
rotation = when {
isPortrait() -> 0f
isLandLeft() -> 90f
else -> 270f
}
if (isPortrait()) {
foldView.show()
} else {
foldView.hide()
}
correctBigBorder()
}
}
}
}
|
旋转是通过设置 rotate 属性来实现的。小面板模式下没做横竖屏旋转,如果要支持的话,需要设置旋转中心点 pivot 值,且需要重新计算一下对应的 transX 和 transY 值,因为这会影响平移边界的计算。
展开收起面板(缩放)
面板的展开和收起是通过缩放 View 实现的,以收起为例:
1
2
3
4
5
6
7
8
9
10
11
12
13
14
15
16
17
18
19
20
21
22
23
24
25
26
27
28
29
30
31
32
33
34
35
36
37
38
39
40
41
42
43
44
45
46
47
48
49
50
51
52
|
private fun fold() {
if (isFolding) {
return
}
isFolding = true
correctPivot(isBigPanelInLeft())
val xScaleAnim = ObjectAnimator.ofFloat(bigPanel, "scaleX", littlePanelSize / width())
val yScaleAnim = ObjectAnimator.ofFloat(bigPanel, "scaleY", littlePanelSize / height())
val animSet = AnimatorSet()
animSet.playTogether(xScaleAnim, yScaleAnim)
animSet.duration = 500
animSet.addListener(object : AnimatorListenerAdapter() {
override fun onAnimationEnd(animation: Animator?) {
adjustPanelAttach(isBigPanelInLeft())
littlePanel.show()
isFolding = false
}
})
animSet.start()
}
private fun correctPivot(inLeft: Boolean) {
if (inLeft) {
bigPanel.pivotX = 0f
bigPanel.pivotY = 0f
} else {
bigPanel.pivotX = width()
bigPanel.pivotY = 0f
}
}
private fun adjustPanelAttach(inLeft: Boolean) {
if (inLeft) {
littlePanel.x = 0f
littlePanel.y = 0f
x = littlePanelPadding
} else {
littlePanel.x = width() - littlePanelSize
littlePanel.y = 0f
x = parentWidth - littlePanelPadding - width()
}
tranX = x - left
}
|
上面主要有两个地方需要注意一下:
- correctPivot: 纠正展开和收起大面板时缩放动画的中心,这里根据面板靠近屏幕左侧还是右侧,将缩放中心点设置在 View 左边还是右边。
- adjustPanelAttach: 收起为小面板后,将面板吸附到左/右边界展示。
总结
对于平移,旋转以及缩放,我们在平时开发中应该都会碰到,这篇文章通过这个控件来学习一下相关的操作,代码已经传到了 github 上,有更好实现方式的同学欢迎提建议~


